executes. The
is the same message you receive
4221A
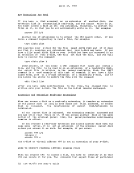
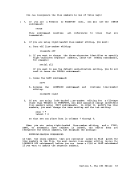
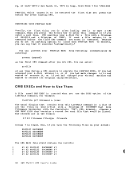
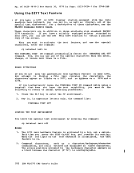
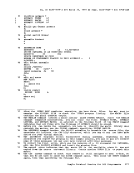
DEFINING AND
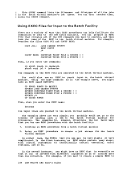
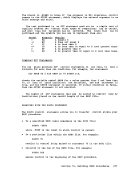
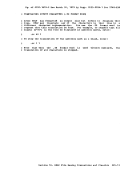
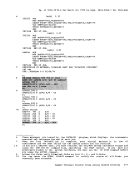
use the DEFINE
catalog that is to control the space, and
volumes on which the space is to be allocated mounted and accessed.
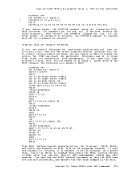
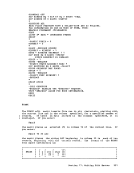
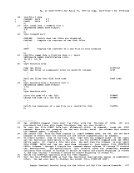
For example, suppose you have a
your virtual machine at virtual address 255. After accessing the disk
and determining the free space on it,
(FILE (FILE1) -
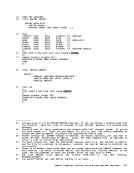
To execute this
access 255 c
assgn
dlbl cat2 c dsn private cat2
dlbl file1 c (extent
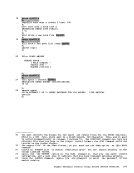
Note that you do not need to enter a data set name to define the space.
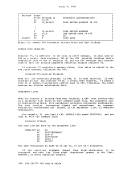
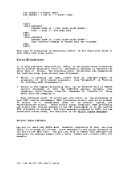
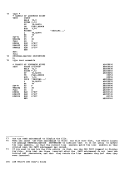
extent specifications:
in the DLBL command. All data extents must begin and end on cylinder
boundaries. Any additional space you provide in the extent information
that is beyond what you specified in the