data to be manipulated or particular characters to be translated.
Again,
copied or modified.
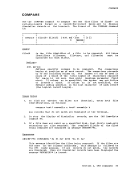
the message:
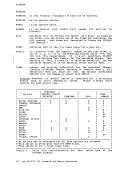
specification list. If you do not wish to receive this message, use the
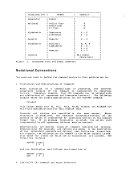
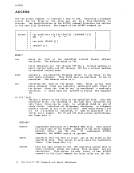
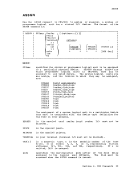
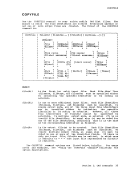
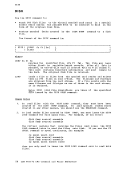
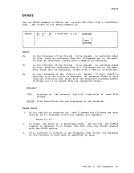
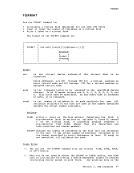
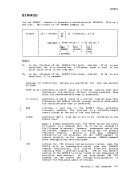
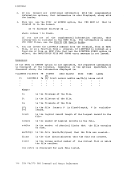
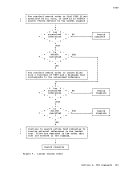
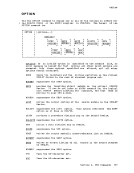
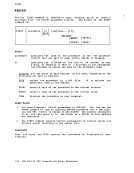
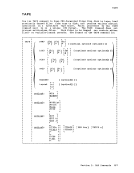
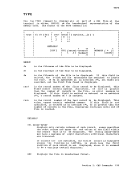
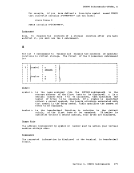
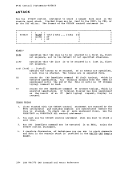
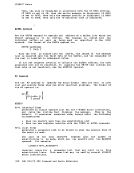
more pairs of operands in the following format:
{
nn-mm }
/string/
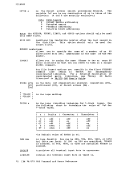
nn-mm specifies the start and end columns of the input file that are to
be copied to the output file. If mm exceeds the length of the
input record, the end of the record is the assumed ending
position.
string is any string of uppercase and lowercase characters or numbers
hxx
col is the column in the output file at which the copy operation is
to begin.
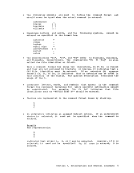
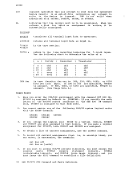
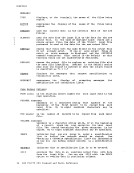
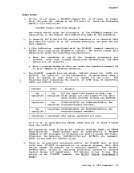
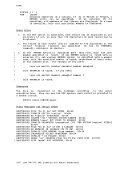
enter more than one line of specifications, enter two
continuation indicators.
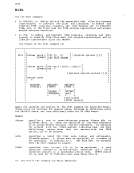
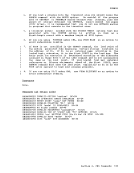
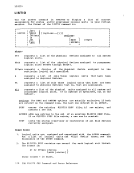
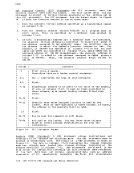
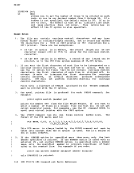
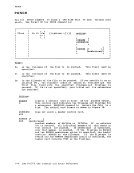
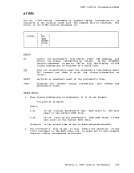
A specification list may contain any combination of specification
pairs; for example:
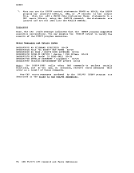
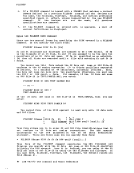
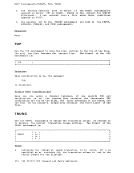
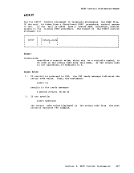
copyfile
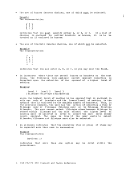
After this command is executed, each record in the file
columns 1 through 8; the o's following the asterisks indicate the
remainder of each record, columns 9 through
file column by column. If you specify multiple input or output files,
the same copy operation is performed for each record in each
42