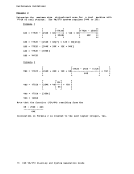
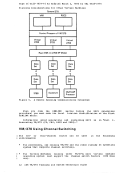
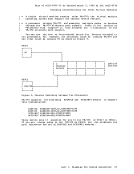
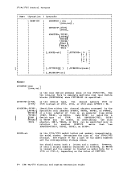
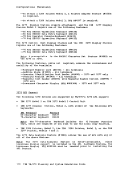
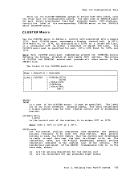
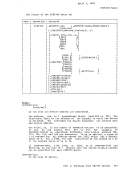
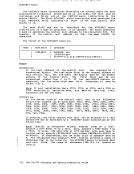
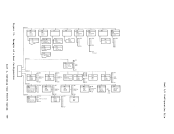
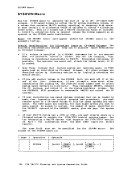
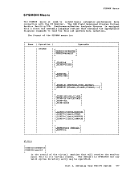
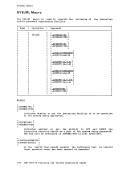
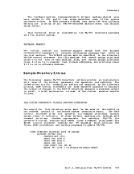
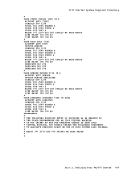
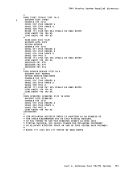
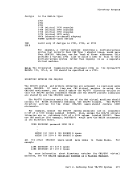
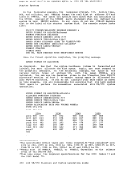
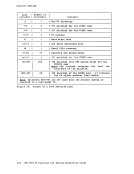
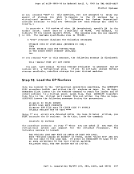
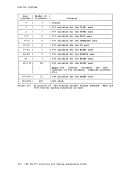
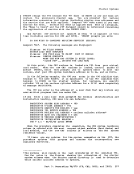
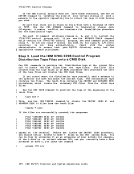
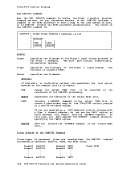
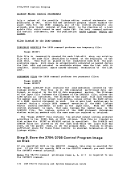
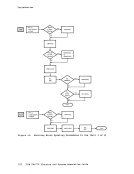
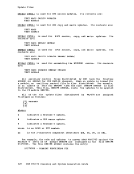
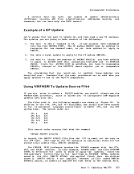
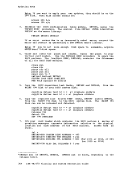
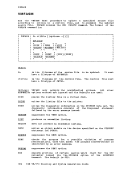
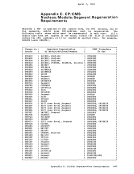
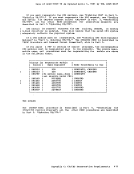
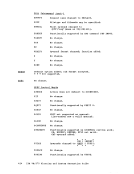
generate rscs build
GENERATE prompts you for the operands it needs to link to the
ENTER
rscs 191 195
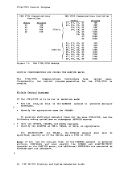
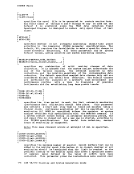
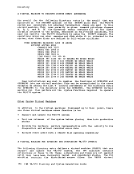
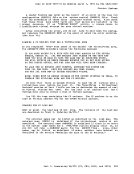
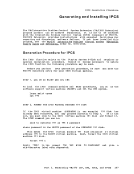
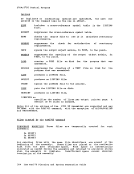
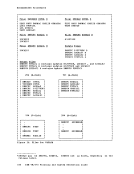
The value you enter for vaddr2 must be the same value you specified for
vaddr2 on the LINK command issued in Step 3; otherwise, the link is not
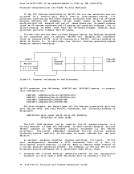
device address of the
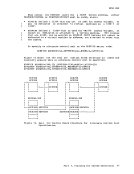
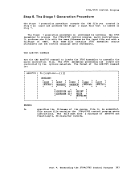
GENERATE then links to the
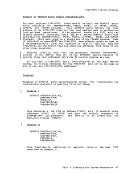
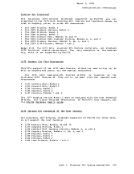
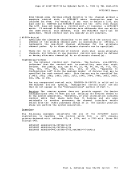
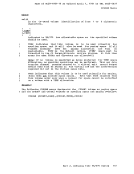
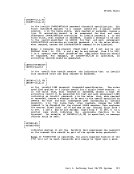
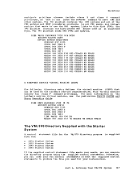
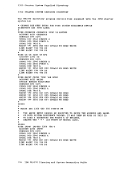
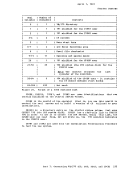
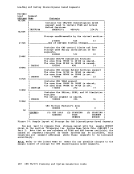
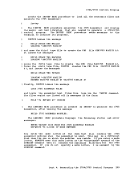
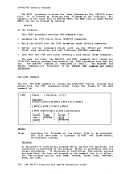
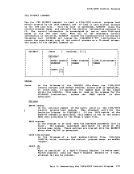
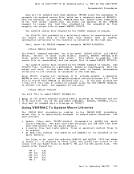
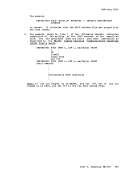
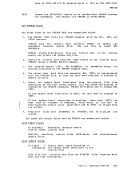
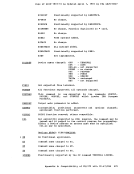
message:
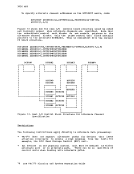
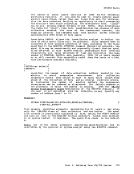
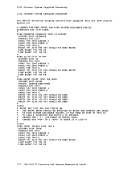
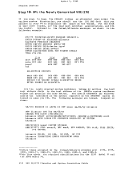
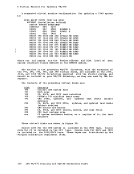
disk and copies four files
TRANSFERRING
following messages:
DKTINI407R
For this example, respond as shown.
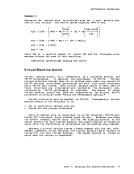
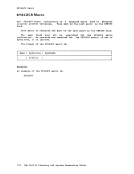
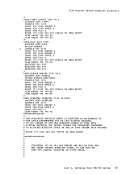
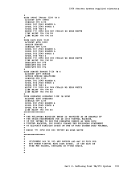
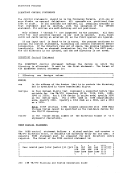
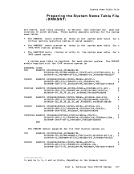
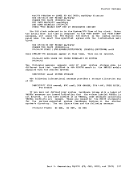
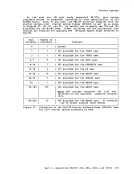
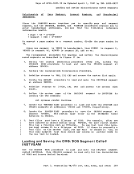
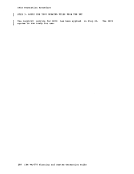
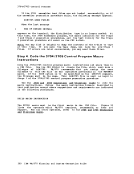
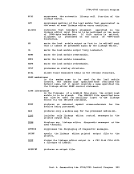
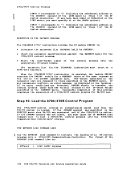
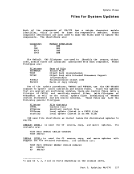
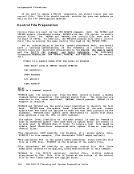
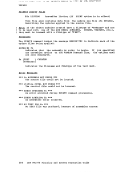
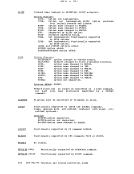
address you specified as vaddr2 when you were prompted for link
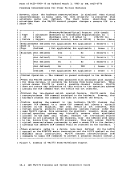
parameters. The nucleus cylinder address depends on the device type of
the
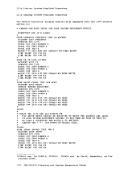
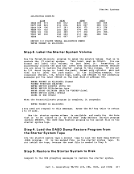
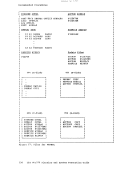
reader.
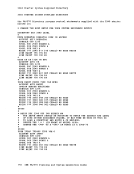
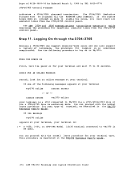
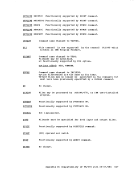
and start your
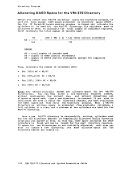
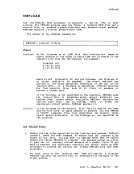
information about using