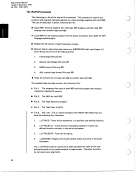
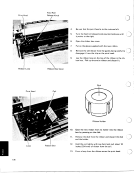
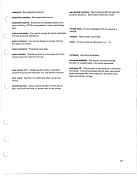
Print Head
Feed Roll
Release Knob
4.
5.
6.
7.
8.
9.
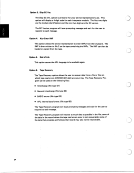
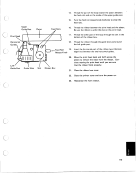
Ribbon Loop Ribbon 'Box Cover
Print Head Coil
10.
11.
I
Loop
I
Ribbon Box
12.
13.
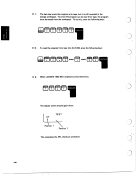
Be sure that the print head is to the extreme left.
Turn the feed roll release knob counterclockwise until
it points to the right.
Open the ribbon box cover
Put on the gloves supplied.with the new ribbon.
Remove the old ribbon from the guides being careful to
disengage it from the clip on the print head. 3
\
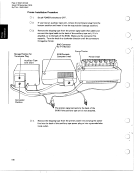
Lay the ribbon loop on the top of the ribbon in the rib-
bon box. Pick up the entire ribbon and discard it.
Disk
I
Ribbon Holder
Eject the new ribbon from its holder into the ribbon
box by pressing on the disk.
Remove the disk from the ribbon and discard the disk
and the holder.
Hold the coil lightly with one hand and pull about 10
inches (254 mm) of ribbon from the coil.
Form a loop from the ribbon across the print head.
178
Feed Roll
Release Knob
4.
5.
6.
7.
8.
9.
Ribbon Loop Ribbon 'Box Cover
Print Head Coil
10.
11.
I
Loop
I
Ribbon Box
12.
13.
Be sure that the print head is to the extreme left.
Turn the feed roll release knob counterclockwise until
it points to the right.
Open the ribbon box cover
Put on the gloves supplied.with the new ribbon.
Remove the old ribbon from the guides being careful to
disengage it from the clip on the print head. 3
\
Lay the ribbon loop on the top of the ribbon in the rib-
bon box. Pick up the entire ribbon and discard it.
Disk
I
Ribbon Holder
Eject the new ribbon from its holder into the ribbon
box by pressing on the disk.
Remove the disk from the ribbon and discard the disk
and the holder.
Hold the coil lightly with one hand and pull about 10
inches (254 mm) of ribbon from the coil.
Form a loop from the ribbon across the print head.
178